Login
Log in if you have an account
Register
Having an account with us will allow you to check out faster in the future, store multiple addresses, view and track your orders in your account, and more.
Create an accountA Guide to Seed Starting
Happy Equinox!! We are finally in that sweet, season-shifting time to begin sowing seeds! So, in our second installment of garden know-how, we wanted to talk about what this looks like for us at La Luciole and some advice on how to make it happen for you! We are going to cover a handful of topics, so here's the rundown!
- Timing:: how to determine frost dates, and when to plant.
- Materials:: the importance of your soil choice (again!), space requirements, heat, lighting exposure, and growing containers.
- Process:: how to sow seeds both inside (warm weather crops) and out (the ones who don't mind a little chill)!
Timing
After about six seasons of gardening in our space, we have gotten a better sense of when is the best time to begin. The biggest consideration for this is your average last spring frost date. Here in near west Cleveland's 6B zone (pop over here to figure out your growing zone info if you aren't local! The dates listed here are 30% probability, a solid start from a very reputable source, but in our experience here at La Luciole, a bit too risky for my taste...) so, we are looking at the safest date of May 15th for the last frost. This means that there is a 90% chance that we will be frost-free from this date moving forward. We also happen to live about a half-mile from Lake Erie, and this creates a little bit of a micro-climate, i.e. it's a tad warmer here than further from the lake. Compare this to say, Akron, and we are looking at sometimes as much as 10-15 days difference in last frost dates.
All this to say, as we ALWAYS must in gardening- it’s all about observation. Every space is going to be a little different. The cost of a little outdoor thermometer (and even a soil thermometer!) will do you wonders for getting the dates right and understanding the fluctuations of your growing area.
So! Now that we know the final frost date, we work backward.
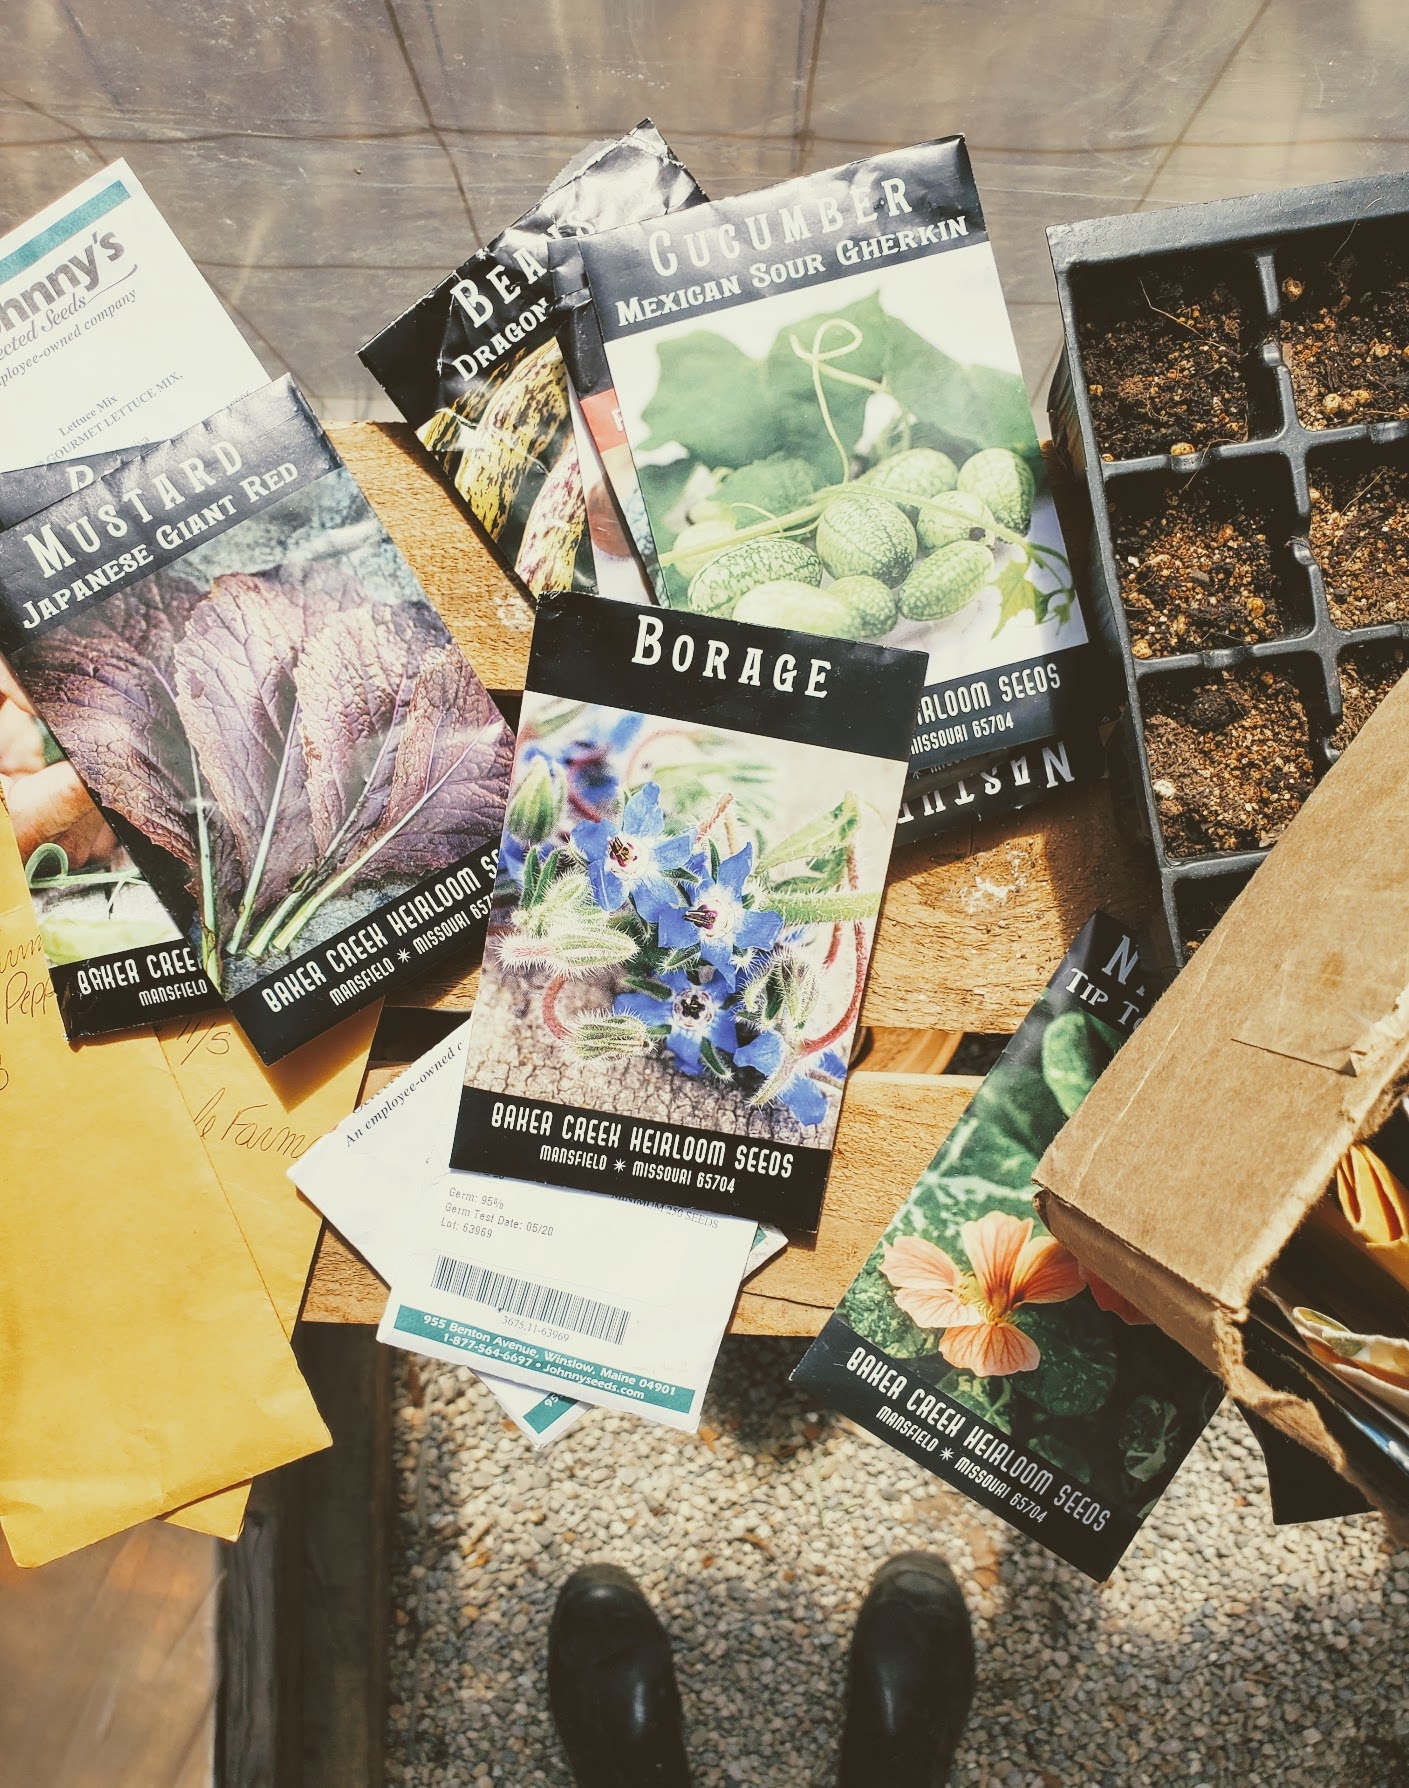
When you look at the back of your seed packets, you'll see there are planting times listed. For example, our Japanese Trifele tomatoes (our absolute favorite variety to grow and eat) list a sowing date of "5-6 weeks before plants can be set out, after frost danger." Meaning, if we were to play it very, very safe on the last frost date - May 15th - we would be planting these particular tomato seeds, indoors, around the last week of March.
This is where that little garden day planner I spoke of in the previous post comes in handy. Pencil in your last expected frost date and count backward to ascertain the best times to start your various seeds. I like to work in pencil to plan, (as I do often move things around a bit) and then record the actual planting days, germination days, and transplant days in pen so I have something to look back to the following season. Make no mistake, I can see differences in my planting times in just the last six years - climate change is no joke - keeping track is your most powerful tool!
Let's Talk Materials
So, your seeds are en route if you haven't gotten your hands on them already, and it’s time to create your setup! Dedicating an area to your seed-starting endeavor is an important step - you want them to be safe from pets, (don't even ask about the time fluffy cat noir Richard went in and chomped all the pepper seedlings...) near to warmth, and able to be well lit with top-down grow lights or near bright natural light sources.
Before Andrew built our little greenhouse, we used our guest bedroom. You'll need to be close enough to a water source that you remember to water them. Away from chill drafts is always a good thing, but we've been growing plants in a 100+-year-old home for many years, and some things just can't be avoided. :)
Now, the containers!
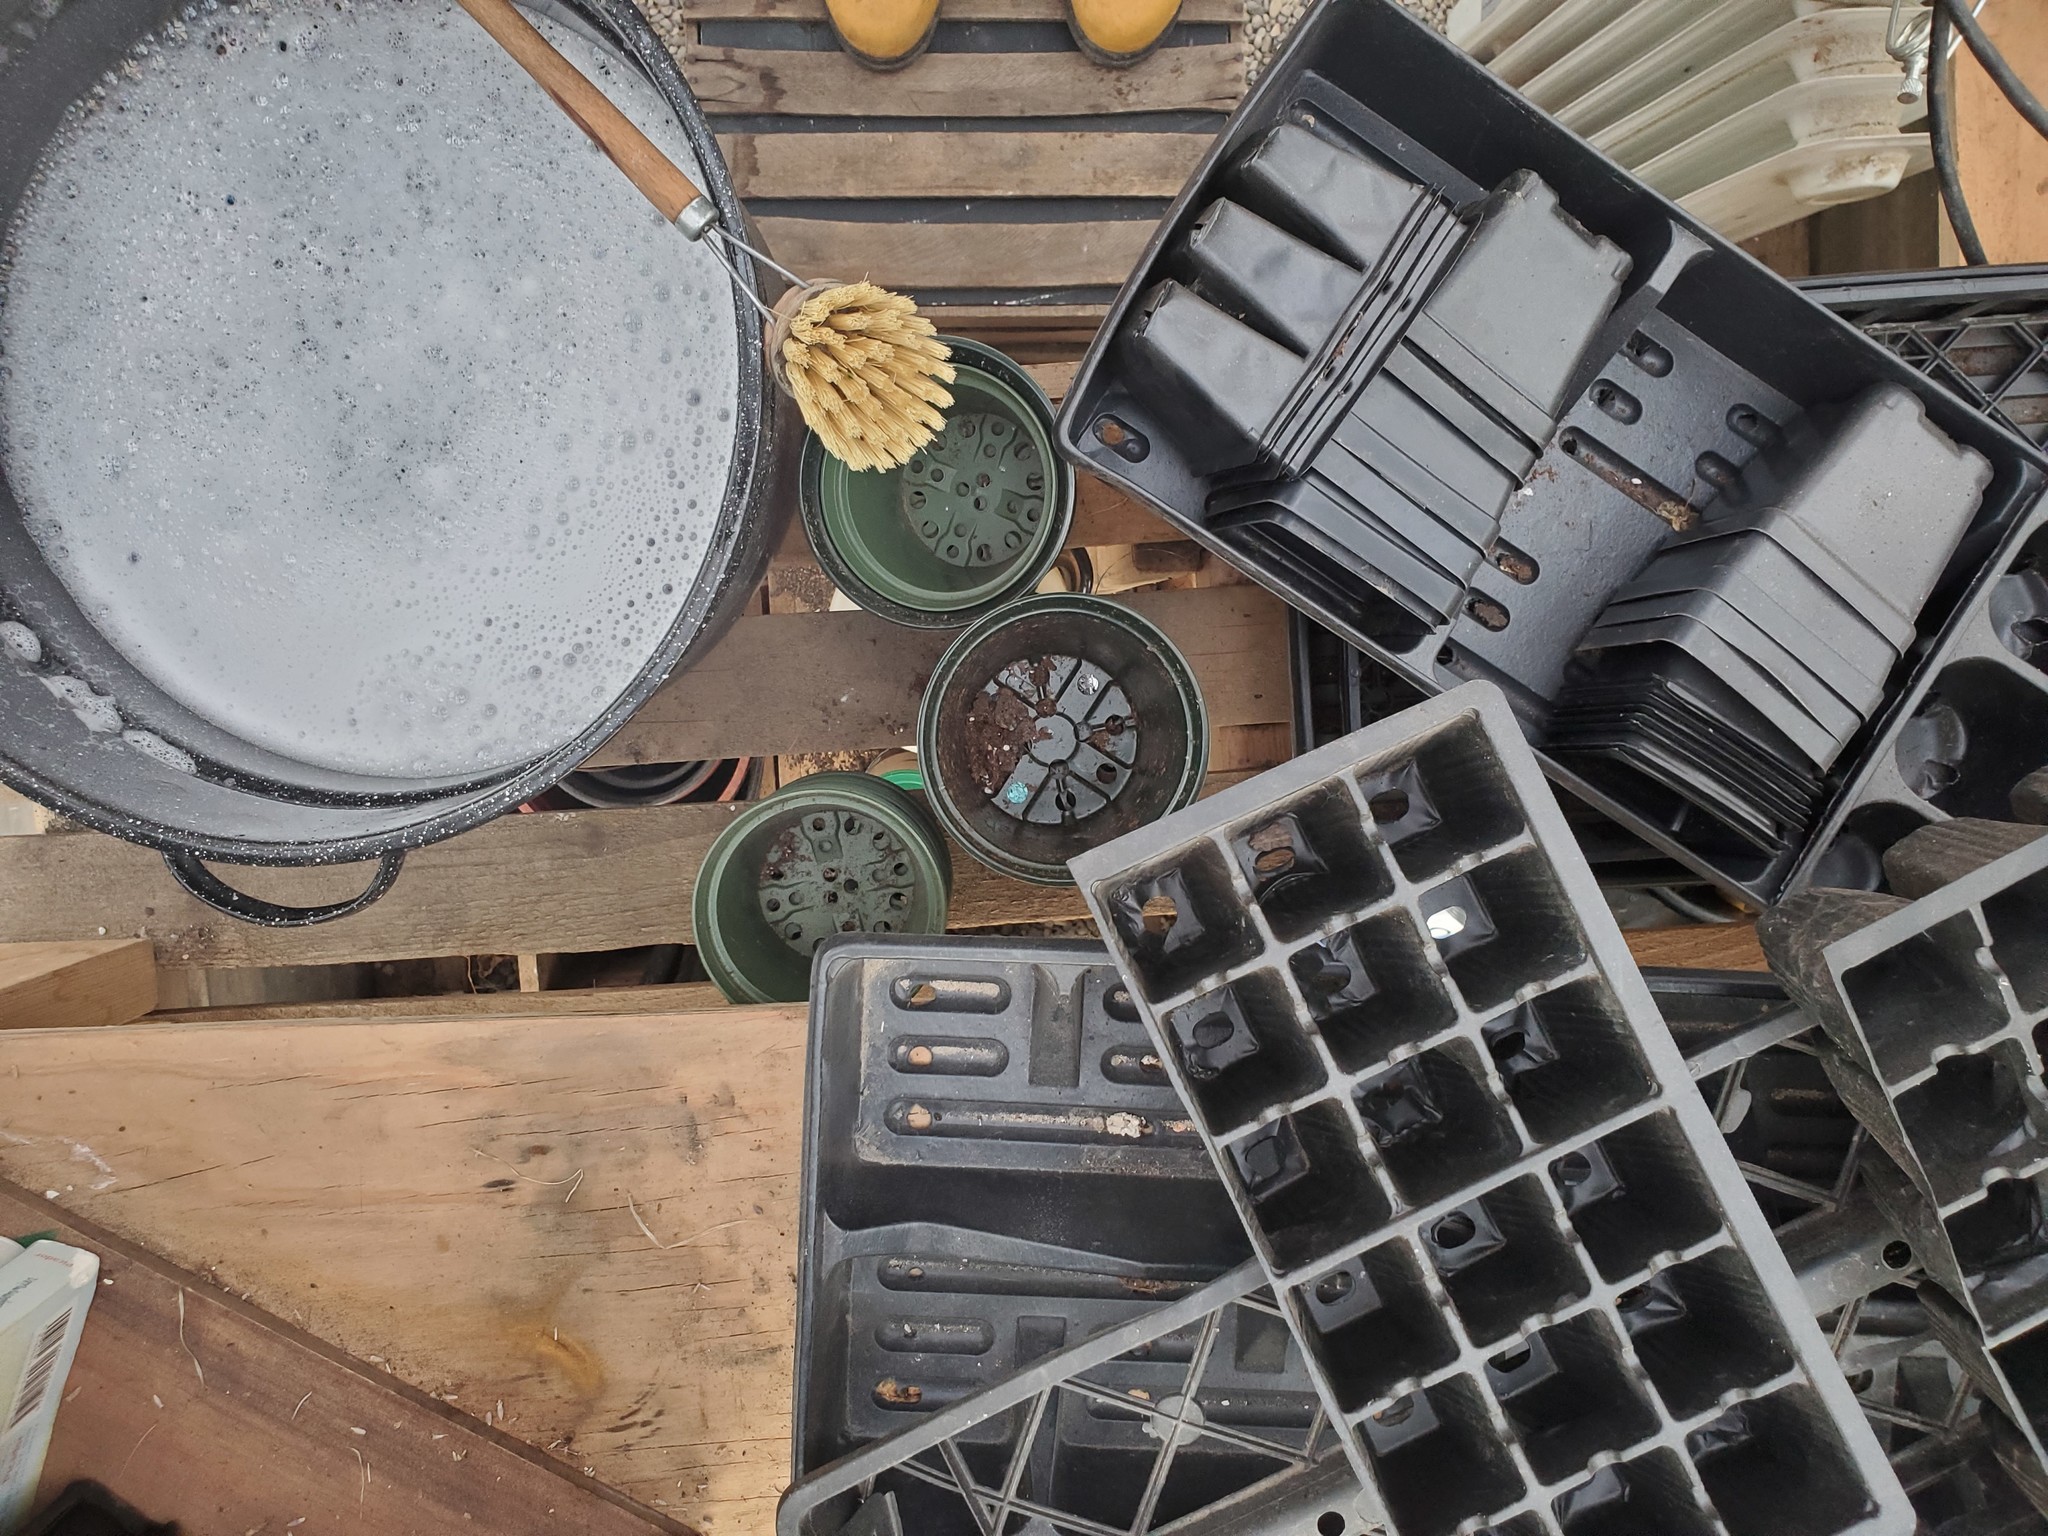
We are no fan of single-use plastic, so we like to re-use potting flats or seed trays. Over the years we have collected so, so many of these (ask your friends and neighbors - let's try to reduce the use of disposable plastic as much as possible!). The most important thing with re-using plastic seed trays is to wash them thoroughly! You don't want any soil-borne diseases carrying over from previous plantings. Hot, soapy water with a few drops of bleach will do the trick, and be sure to rinse thoroughly.
You can also use grocery store plastic salad bins (they have the added benefit of a closable lid!) Be sure to poke some holes in the bottom of each to ensure drainage if you are not using a seedling tray. I also like to have a correctly sized drainage tray beneath the seed containers. (You can use a sheet pan!) You can also certainly buy a tray kit, with a plastic dome top easily - just be sure to keep it for the following season!
Next, Soil!
Yep, capital S, because it's always ALL about the soil. And this matters from the very, very beginning. We use the seed starting mix from Tilth for a few important reasons- seed starting mix needs to be a finer texture, and have the right balance of nutrients for seedlings because what you are looking for when starting plants is shorter, stronger, more vigorous plants. You want them to focus their energies on building well-developed root structures to support their move out into the garden and be able to transfer all of those good soil nutrients once they are moving into their flowering and fruiting phase. Also, there are no added fertilizers or chemicals in Tilth’s blends, making them perfect for organic growing. The fine folks at Tilth and Rust Belt Riders are wizards at soil mix formulations and ratios - so we don't mess around with anything less.
There are a few additional items we use to really get things going - heat mats for germination and overhead lights for growing on after germination. Our use of heat mats has helped shape our choice to start our heat lovers (tomatoes, peppers, eggplant) towards that end of March timeline because with that added heat source they tend to grow quickly. We want nice compact, well-rooted plants, not "leggy" ones. Starting plants too early may cause them to grow tall and spindly, searching for light rather than growing deep. This makes them less vigorous, and prone to stress once planted out. We use overhead lights, (and this season, our greenhouse) as well as the heat mats, to be able to push back the sowing time a bit while providing the right mix of heat and light, all allowing for nice, full plants closer to the date that is safe to pop them into the garden.
Sowing Process
Indoor starting:: perfect for all those heat-loving, longer season plants
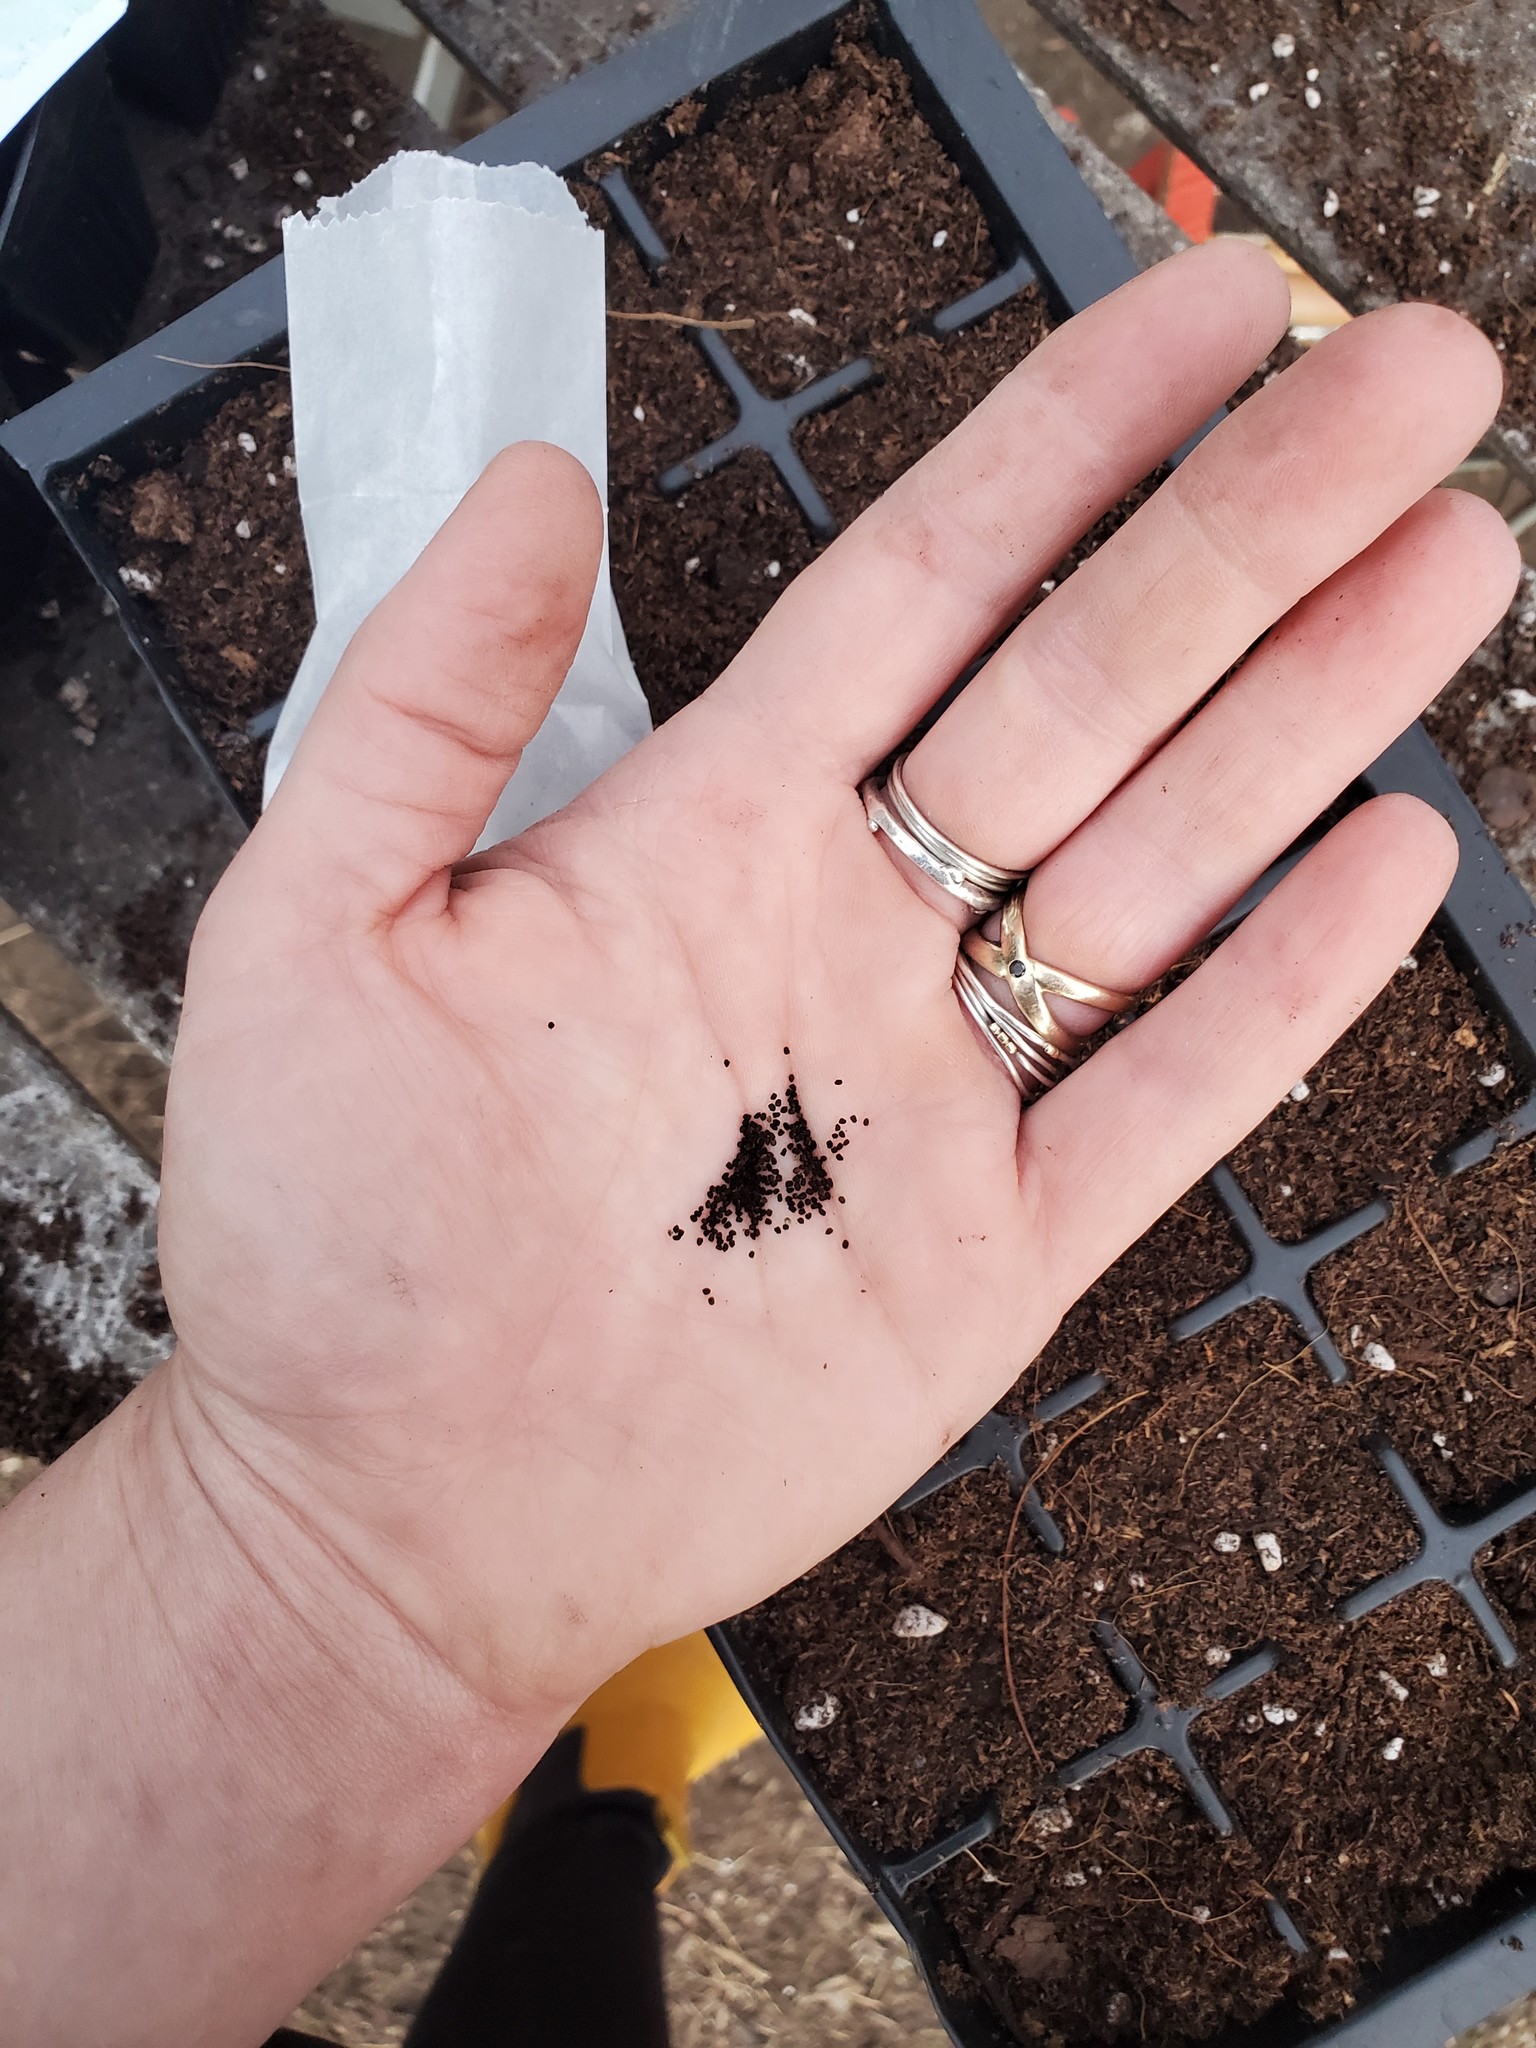
You've got your seed pots clean and ready, your seed soil mix at hand, and seeds at the ready. Using a small bowl or bucket, moisten your soil a bit before putting it in pots, that way you don’t disturb the seeds once planted. Fill your containers just a bit below the top and gently shake them down into the pots or cells; you want to minimize any air pockets. Using the directions on the packet, use your pinky finger or a pencil to create the holes in each soil cell. Keep in mind, some seeds want very, very little soil overtop (they need light to germinate, like my snapdragons...) and others want to be a bit deeper. If I am ever not sure, I follow the advice of my stepmom and master grower, Sue, to plant them twice as deep as the seed is wide. Very gently tap the seed against the soil to make sure there is good contact between them.
Now, gently sprinkle soil over top as per the sowing directions. I like to use a sieve to do this (to keep the soil fine and evenly distributed) but it isn't necessary. We always plant a few more seeds than the final number of plants we want to grow, in the event that some don't germinate. You can always share plant starts with friends!!
We bottom water our seeds once sown by placing the seed containers on a sheet pan or plastic tray with an inch or so of water in it for about 15-20 minutes. The soil will absorb the moisture needed. We are trying to keep the seedbed moist, without disturbing the seed by top watering.
Label your containers with the variety and date planted. Plant markers, masking tape, or Popsicle sticks all work great for this! Now place your containers or trays in your warm, safe growing area (or on your mats at 70 degrees, if using), and be patient! If you have a plastic cover, place overtop to help create humidity and trap warmth.
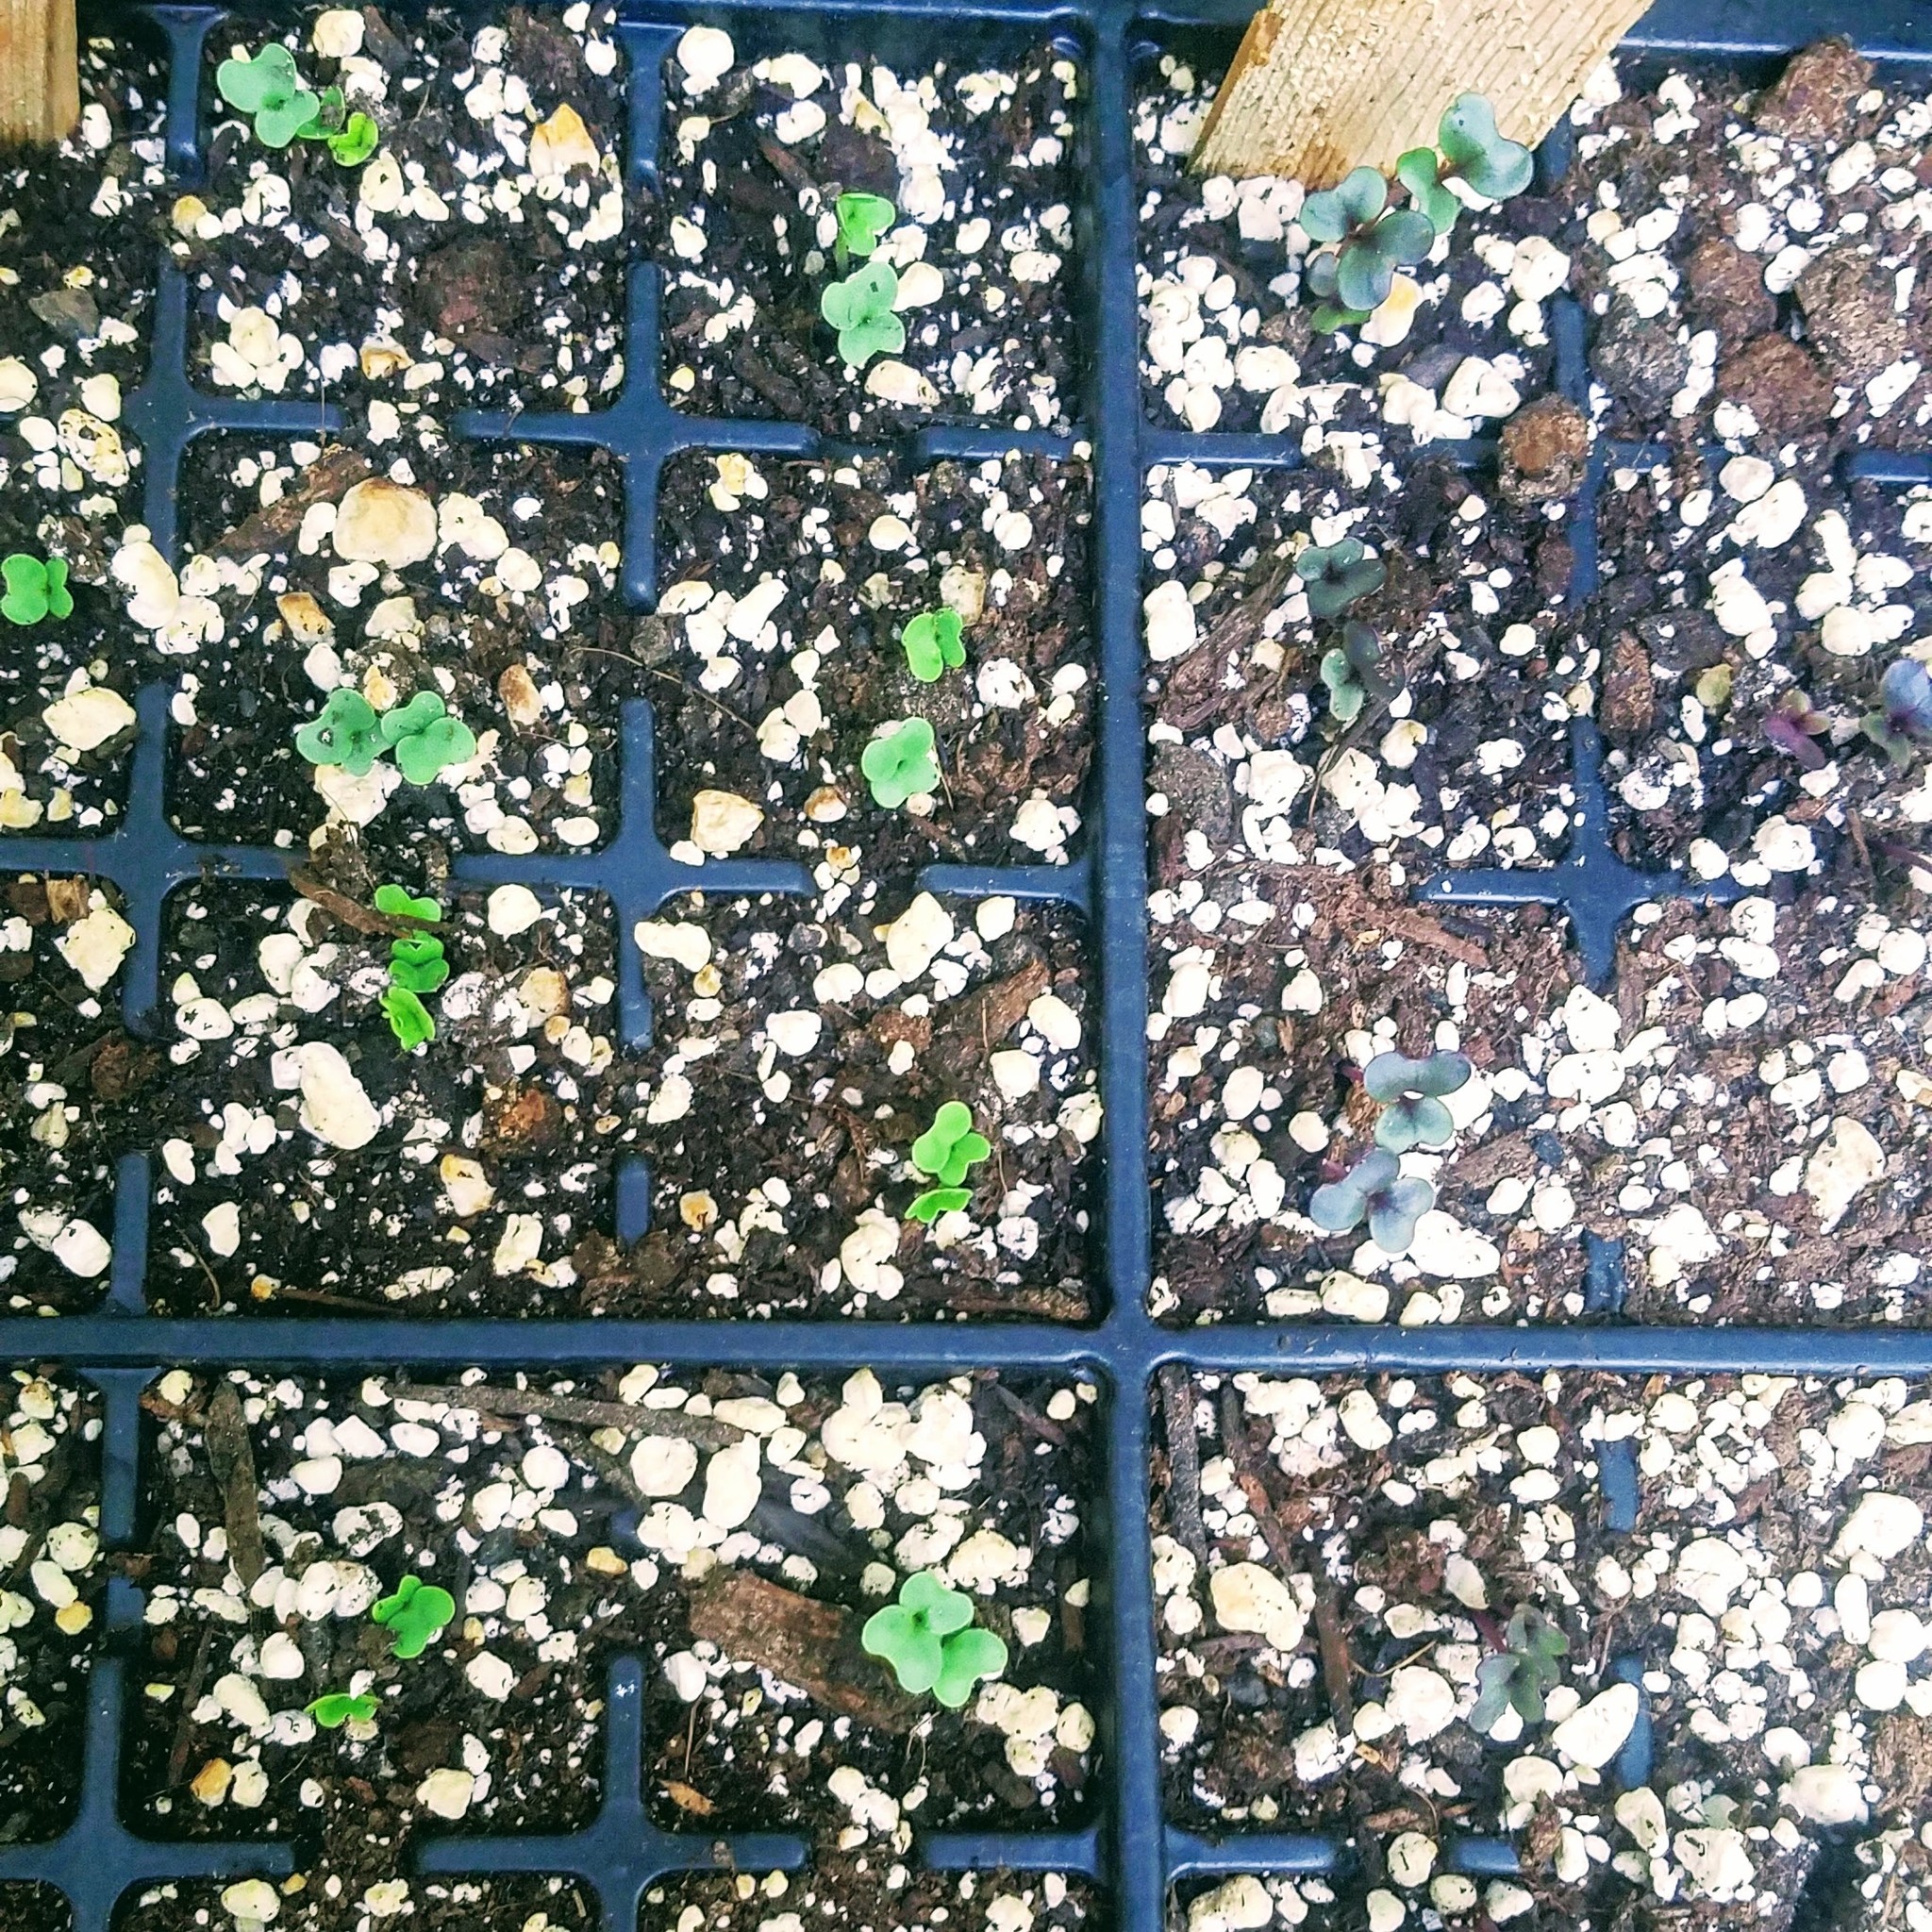
We like to keep our seed trays moist, but not wet, so remember to check them regularly depending on how dry your space is. Once the seedlings emerge and have grown their second "true" leaves, (more on that in the next post) you can start gently watering from the top. But before then, to avoid disturbance, it is best to continue to bottom water.
Keep a daily eye on your plant babies, as you'll want to remove any covering as soon as they germinate to allow for airflow and prevent mold or rot. If using artificial lights (we absolutely recommend!) position your overhead lights (tube lights work great!) close to your seedlings once they emerge. You want to provide around 14-16 hours of light per day, raising the lights as the seedlings grow so that they are always a few inches above the plants. You can get a cheap lighting timer that works wonders for this! Again, remember to record that first glorious day you see a sprout emerge! Data is gold! If not using lights, try to find the most sun-filled warm, and safe spot in your home. We are still aiming for that long-range of nice spectrum bright light as possible to give them a good start. We'll be using our greenhouse for the first time this season, so stay tuned for that learning curve!
Direct sowing:: perfect for plants that despise transplanting, and cool-season crops like kale, lettuces, radishes, and peas
Once the ground is workable outside, there are lots of crops that can go right in your plot, raised beds, or pots, and get moving! We planted our lettuce and radishes just about a week ago, and the lettuce germinated yesterday! Again, it's a great idea to work in some compost (check out our garden planning post, as well as our Q&A with Nathan from Rust Belt Riders for the skinny on bed prep!)
Following the spacing on the packet, you can plant these cold-weather lovers right outside even though there may be some light frost over the next few weeks. After you have prepped your bed, mark the line you wish to sow in and create your seed holes at the spacing and depth indicated on your seed packet. I don't use anything more sophisticated than a little piece of bamboo from our yard to do so. Drop-in one or two seeds and lightly cover. Water in well, and very gently.
We like to sow things like radishes, kale, and collards in rows, while for our mixed salad greens, arugula, mustard greens, and orach we plant in square patches or blocks. It all depends on your garden plan. Keep in mind that you can succession grow things like lettuces, salad greens, radishes, and carrots - meaning to ensure a continuous crop, plant one batch about 2 weeks after the first. (The same can be done with a lot of varieties of cut flowers.) As always, label with the variety and planting date, and keep a record of that in your garden planner as well!
Keep an eye daily to be sure they stay moist, but not wet.
Enjoy the Process
There really is nothing like the joy of handling seeds, knowing the abundance contained in that tiny little thing. It's a remarkable act of faith, patience, and connection. Now we've got seeds in the soil - it's all about germination and seedling care... moving ever closer to planting out! Stay tuned and we'll keep you in the loop of all that’s happening here at La Luciole… so much more to come!
Questions?? Let us know below, or reach out at @rsboutique. We're thrilled to help!
Happy sowing, xo.
Leave a comment
Recent articles
View all
Women of re:COLLECTION

My personal story behind our new collection...
...